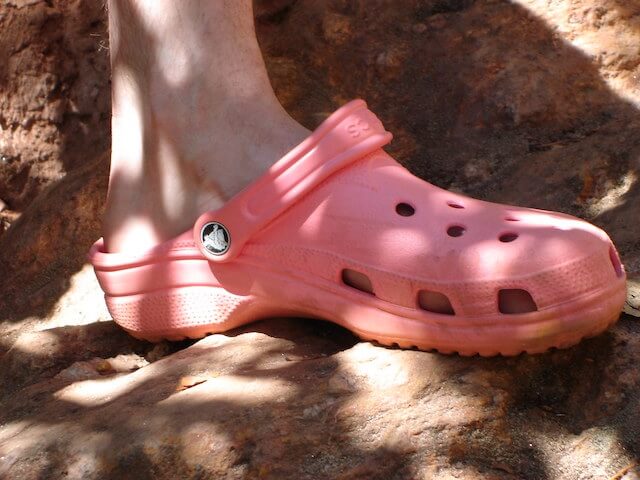
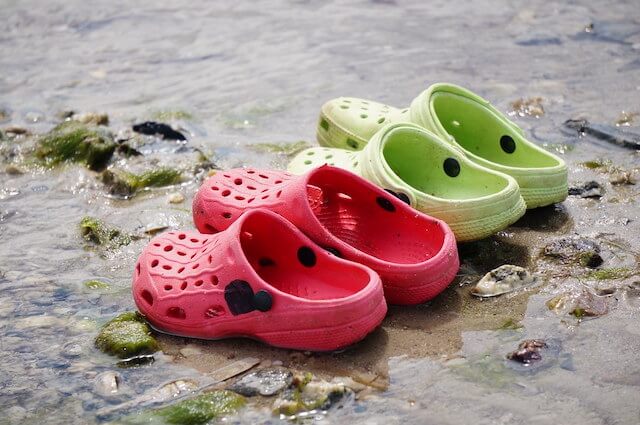
Due to its comfort, Crocs are a well-liked brand of footwear. They are adaptable, lightweight, antimicrobial, and breathable for various uses.
However, after a while of usage, your shoes can start to wear out, or their straps might break. Don’t worry because you can repair this problem with some tricks.
How to fix a broken Crocs strap? Let’s dive into this article to learn the technique to repair this footwear part!
Table of Contents
Can You Repair Crocs Strap?
Because of its adaptability and durability, Crocs are swiftly rising to the top of the most popular shoes worldwide.
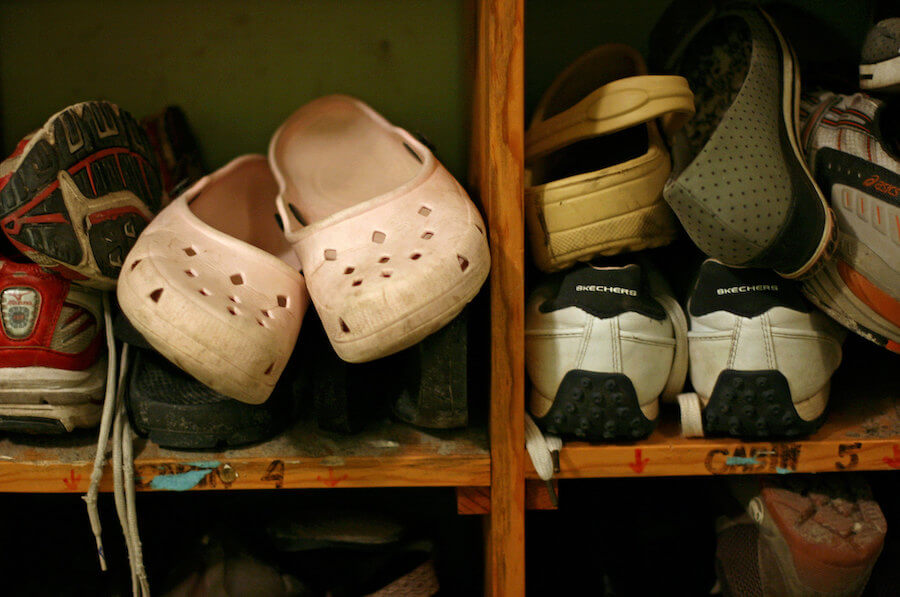
Although Crocs are among the comfiest footwear you’ve ever worn, the material used to make them is prone to failing in several crucial locations.
Crocs’ bottoms deteriorate with prolonged, regular usage, mainly where the strap attaches to the core footwear.
These shoes have an issue with the strap since it usually breaks first when a part of the footwear breaks.
These resilient clogs are resistant to harm. You might be asking if it’s even possible to fix a damaged Croc.
You can fix broken parts of Crocs like their straps, rivets, or worn soles using EVA glue and proper fixing technique.
Although straps and bottoms of Crocs are prone to tearing and breaking, Croc repairing is a straightforward procedure.
It’s simpler than you would think to mend a pair of damaged Crocs. All you need is basic knowledge, tools, and components.
In most cases, it is easy and relatively simple to restore broken Crocs, although specific damage cannot be repaired.
Large cracks and splits in the bottom of the shoes and also cracks in the upper portion of the footwear are typically unfixable and call for a replacement.
How To Fix Broken Crocs Strap?
Crocs feature straps and rivets that might fall free or fully shatter in addition to being prone to wear and strain.
However, the brand will provide you with a replacement at no charge. All you should do is visit their website and complete the required information.
Additionally, there is a solution to mend the snapped straps or rivets yourself at home with supplies found at the nearby store.
Preparations
Make sure these things are ready to use:
- A glue spreader
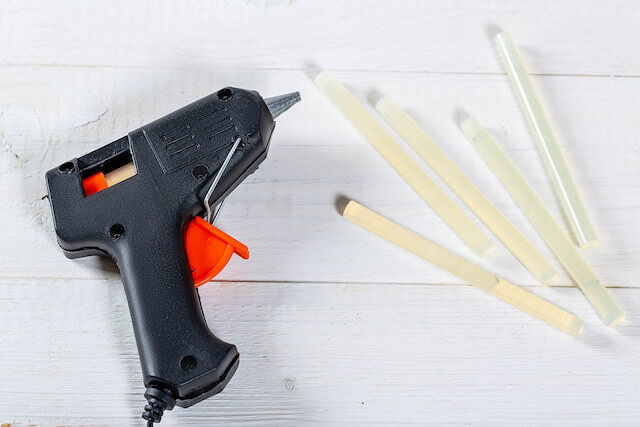
- Glue gun
- Glue stick
- Chicago bolts (ring bolts for bicycle chains, new replacements)
Step-By-Step Instructions
1. With the rivets:
A damaged strap rivet is among the most typical Crocs strap problems.
Each pair comes with a plastic snap-rivets set to secure the straps to the Crocs main frame.
As soon as they separate, it’s hard to put these rivets together again since they are so quickly shattered.
Luckily, various alternatives to plastic rivets are available such as Chicago bolts, ring bolts for bicycle chains, or replacements from third-party stores.
Step 1: Split the rivets in half.
Separate the interior from the exterior of the rivets.
Although the second is just a blackhead, the first is typically embellished with a Crocs logo.
Step 2: Insert the internal piece into the rivet eyelet.
Ensure to drive the piece from the interior of the Crocs outwards.
Then, insert it into the hole of the strap.
Step 3: Attach the logo with glue to the shoe’s sole.
Glue the strap on the first rivet to ensure it is fastened correctly. Repeat the same process with the rest.
2. Without rivet:
Step 1: Install Your Glue Spreader.
Before adding the glue spreader to the order, ensure it will accommodate the holes in the shoes.
If the glue spreader doesn’t work when you first use it, you won’t need to purchase another one. It only needs to be sanded down.
Step 2: Make The Internal Circle.
Making the interior circle requires a glue stick and glue gun. After that, plug the glue gun into the socket.
Once the diameter of the glue gun fits the area where the straps are attached, gently squeeze it out.
Contrarily, it’s challenging to draw the inner circle. If you cannot get the correct dimensions for the first time, try again.
Step 3: Bring Everything Together.
Heat the middle of the circle with a hot glue gun and apply glue there. Place the glue spreader inside the holes after that.
Affix it with adhesive to the middle of the circle. That’s all done!
Why Should You Repair Your Crocs?
Although you can get a new pair of Crocs when their parts get broken, many people decide to repair their shoes for many good reasons.
It Saves Your Money.
The market has recently seen an increase in selling prices for slippers, shoes, and sneakers. However, because crocs are cheap, you can always buy a new pair.
I highly recommend repairing your old sneakers if you’re trying to cut costs.
It Is Environmentally Friendly.
Old shoes have been piling up in the landfills at an alarming rate recently, resulting in land contamination.
Therefore, having your worn-out and broken Crocs repaired is better for the environment than throwing them away.
It Is Interesting To Do A Diy Project.
It’s always fun to work on DIY projects. If you prefer art projects, you’ll be able to appreciate repairing shoes.
If you have children, they may participate for more joy and entertainment.
It Frees Up More Space In The Closet.
Consider that you routinely buy new footwear, which would require extra closet storage to be added for keeping.
On the other hand, repairing your Crocs will ultimately save you budget and space.
Extra Tips For Fixing Broken Crocs Strap?
When fixing broken straps, it’s better to remember the following tips:
- Before trying to fix your broken straps, gather the necessary supplies.
- Visit your neighborhood store to pick up a glue gun, stick, and other items.
- Before doing anything further, identify the sort of damage to your footwear.
- Before applying an adhesive, check to see that your shoes are clean.
- After cleaning, completely dry your footwear.
- On the rip, dab a little EVA glue.
- Press the slash closed after ensuring the adhesive is applied evenly along with the tear.
- While the bond is fixed, secure the tear with a clip or some tape.
- The packing directions for your selected EVA glue will tell you how long the glue needs to dry.
- After the glue has set, take off the clip or tape to check the Croslite’s rebonding.
- If you can’t fix the problem, it’s better to seek the help of professionals.
How To Repair Old Crocs?
Your favorite Crocs get old and may become worn after a specific use time. If you want to fix them, you can check the guides below.
Step 1: Prepare The Things.
Before fixing your shoes, prepare the following things:
- A used bicycle tire
- Adhesive
- A knife
- Scissors
- Cutters (snips)
- Straps
- Plastic bags
Step 2: Wash Your Footwear.
Make sure you clean your shoes before repairing them to achieve the best quality of adhesives.
Step 3: Prepare The Old Bike Tire.
Most tires contain a wire coil bead that has to be removed. Cut all metal wires with wire snips or diagonal cutters.
Some people make the error of not removing sufficiently the non-contact section for the initial bands they make.
They then learn to cut to the rubber where the tire’s road joins it.
It’s problematic since it makes it difficult to attach the tire to the shoe. You should avoid this mistake.
Step 4: Cut The Bands.
Trim the tire’s lengths to match the width of your footwear.
Ensure the contact point between the foot’s ball and heel is precisely above the middle of a tire-shaped component.
Otherwise, walking may not be as pleasant since you will notice the joint.
Step 5: Warm Your Shoes Up.
You can put your footwear and the rubber pieces on a radiator. When warming up these components, be careful!
That’s because fire might start if the radiator becomes too hot and the shoe melts.
Step 6: Glue The Tire Pieces To The Shoe Sole.
Divide your footwear into the back and front sections—glue three pieces at once.
Put the glue on a tire strip and stick it to the shoe.
To allow the rubber to dry, ensure it is completely covered and put on firmly.
After the strips are in place, secure them with a clip and wait for the adhesive to dry. For instance, you can put them on the radiator.
Besides, remember to support your Crocs by stuffing them with plastic bags.
Step 7: Wait Until Your Shoes Are Completely Dry.
Leave your footwear enough time to allow the adhesive to dry.
Step 8: Trim The Strips.
When the rubber strips are dry, customize them to your preferences. Put on your shoes to enjoy the improved traction.
Wrapping Up
After reading this article, you have got to know how to fix broken Crocs straps. As you can see, the repairing method is not too difficult to do at home.
When you have broken straps, you can contact the brand to get a new replacement. You can also solve this issue with essential knowledge and tools.
Thanks for reading, and see you in the next post!